Quick Start Guide
Learn the basics of setting up your machine, loading tools, and running your first simulation.
Navigating the 3D view
The 3D view is the main window where the three-dimensional scene is represented including machines, fixtures, conveyors and so on.
If the virtual camera is on, the mouse cursor becomes a circular ring and you can control the 3D view. You can toggle the virtual camera by right-clicking with the mouse on the 3D view: right-clicking passes from the virtual camera mode to the selection mode and vice versa.
| Command | Action |
|---|---|
| Rotate | Move the mouse pressing the left mouse button. |
| Pan | Press <SHIFT> or <CTRL> and move the mouse pressing the left mouse button. Alternatively move the mouse pressing the central mouse button. |
| Zoom | Four ways:
|
Other view options available in the toolbar include Isometric view, Orthographic view, Zoom all, Zoom window, View face, and more.
Loading the samples
Eureka3X provides a variety of pre-configured sample projects to help you explore its capabilities. You can easily access these from the Welcome page.
The Welcome page appears automatically when you open Eureka3X. You can also open this window at any time by clicking the Quick Start button on the top right of the main window.
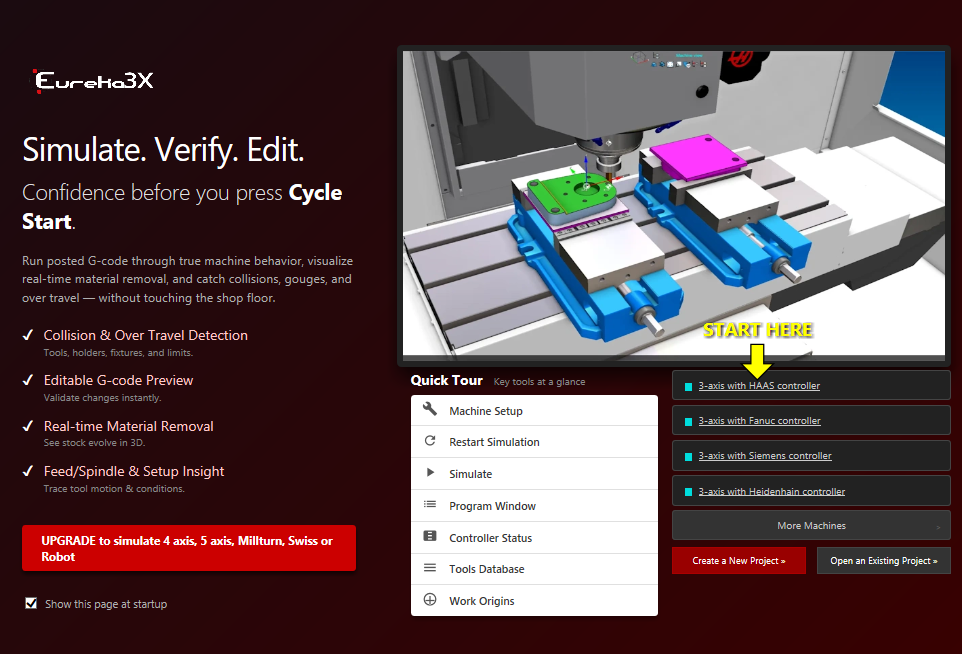
Once you click on one of the sample projects under Start Here, Eureka3X will load the entire scene, including the machine, fixtures, tools, workpieces and NC programs.
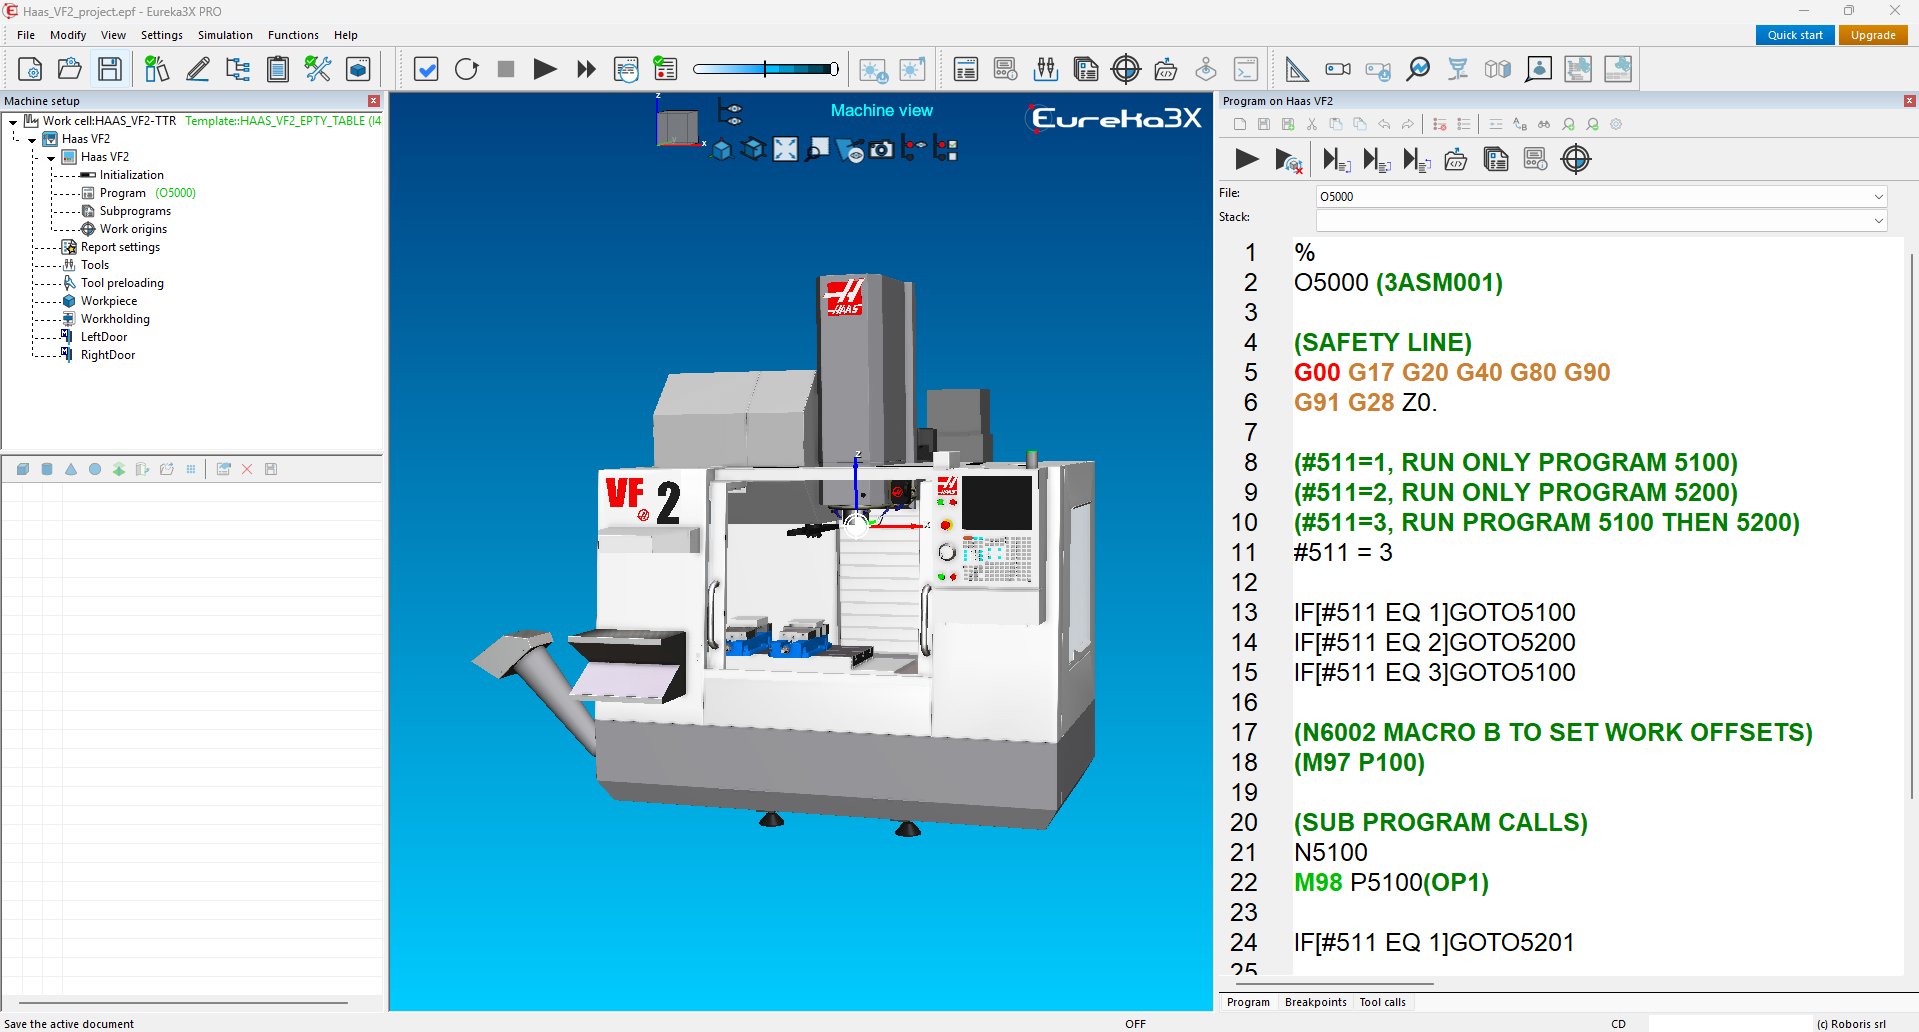
Running the simulation
Once a sample project is loaded, you can run the simulation using the commands in the toolbar. The main commands are highlighted in the picture below:
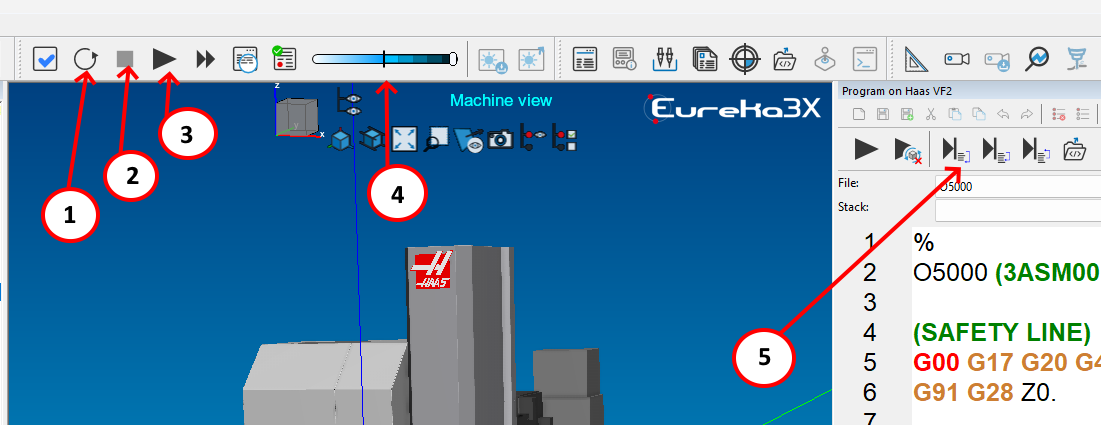
| # | Command | Description |
|---|---|---|
| 1 | Restart simulation | Resets the simulation to the beginning. |
| 2 | Terminate | Stops and terminates the current simulation process. |
| 3 | Play / Suspend | Starts playing the simulation or pauses it if it is already running. |
| 4 | Simulation speed | Adjusts the visual playback speed of the simulation. |
| 5 | Simulate line by line | Advances the simulation one NC code line at a time. |
Analyze results
After or during the simulation, you can check the results using the following tools:
- Check the Message Bar
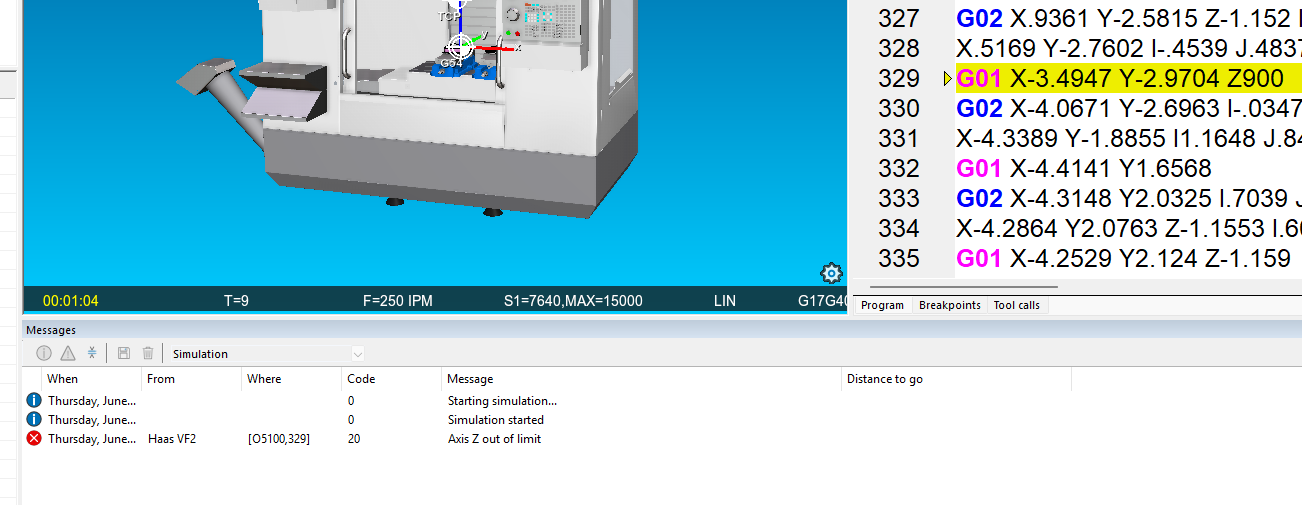
The message bar lists the messages raised by Eureka during the simulation (information messages, warnings, or error messages). You can open the message bar using the Message Bar button (the clipboard with a checkmark icon) or using the correspondent "Message Bar" command in the View menu.
Double click on a message related to the program to highlight immediately the program line that generated that error.
- Compare machined stock vs finished
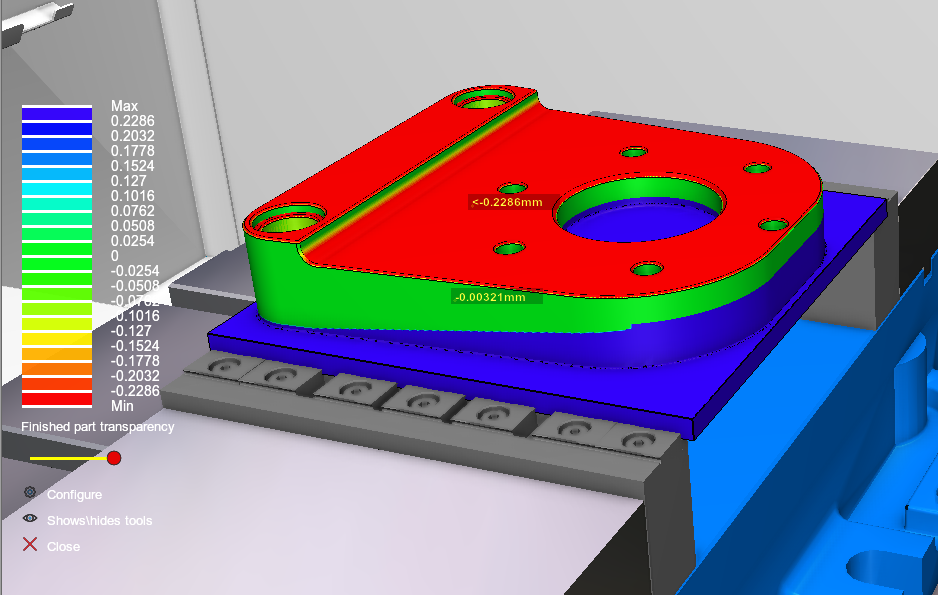
Activate the comparison tool using the correspondent command in the functions menu to compare the simulated machined stock against the reference finished model.
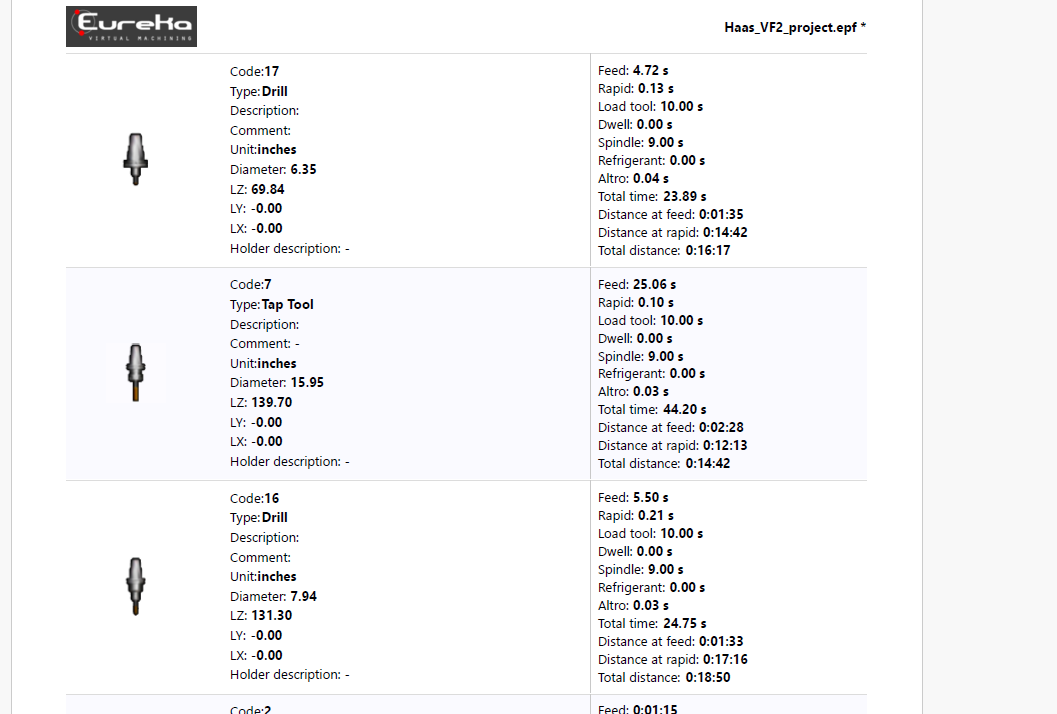
- Export the PDF report
Use the command
File > Report > PDFto export a report of the simulation as a PDF file.